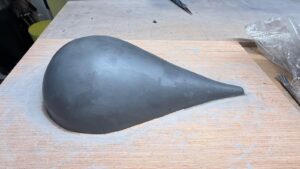
Making our first press mould
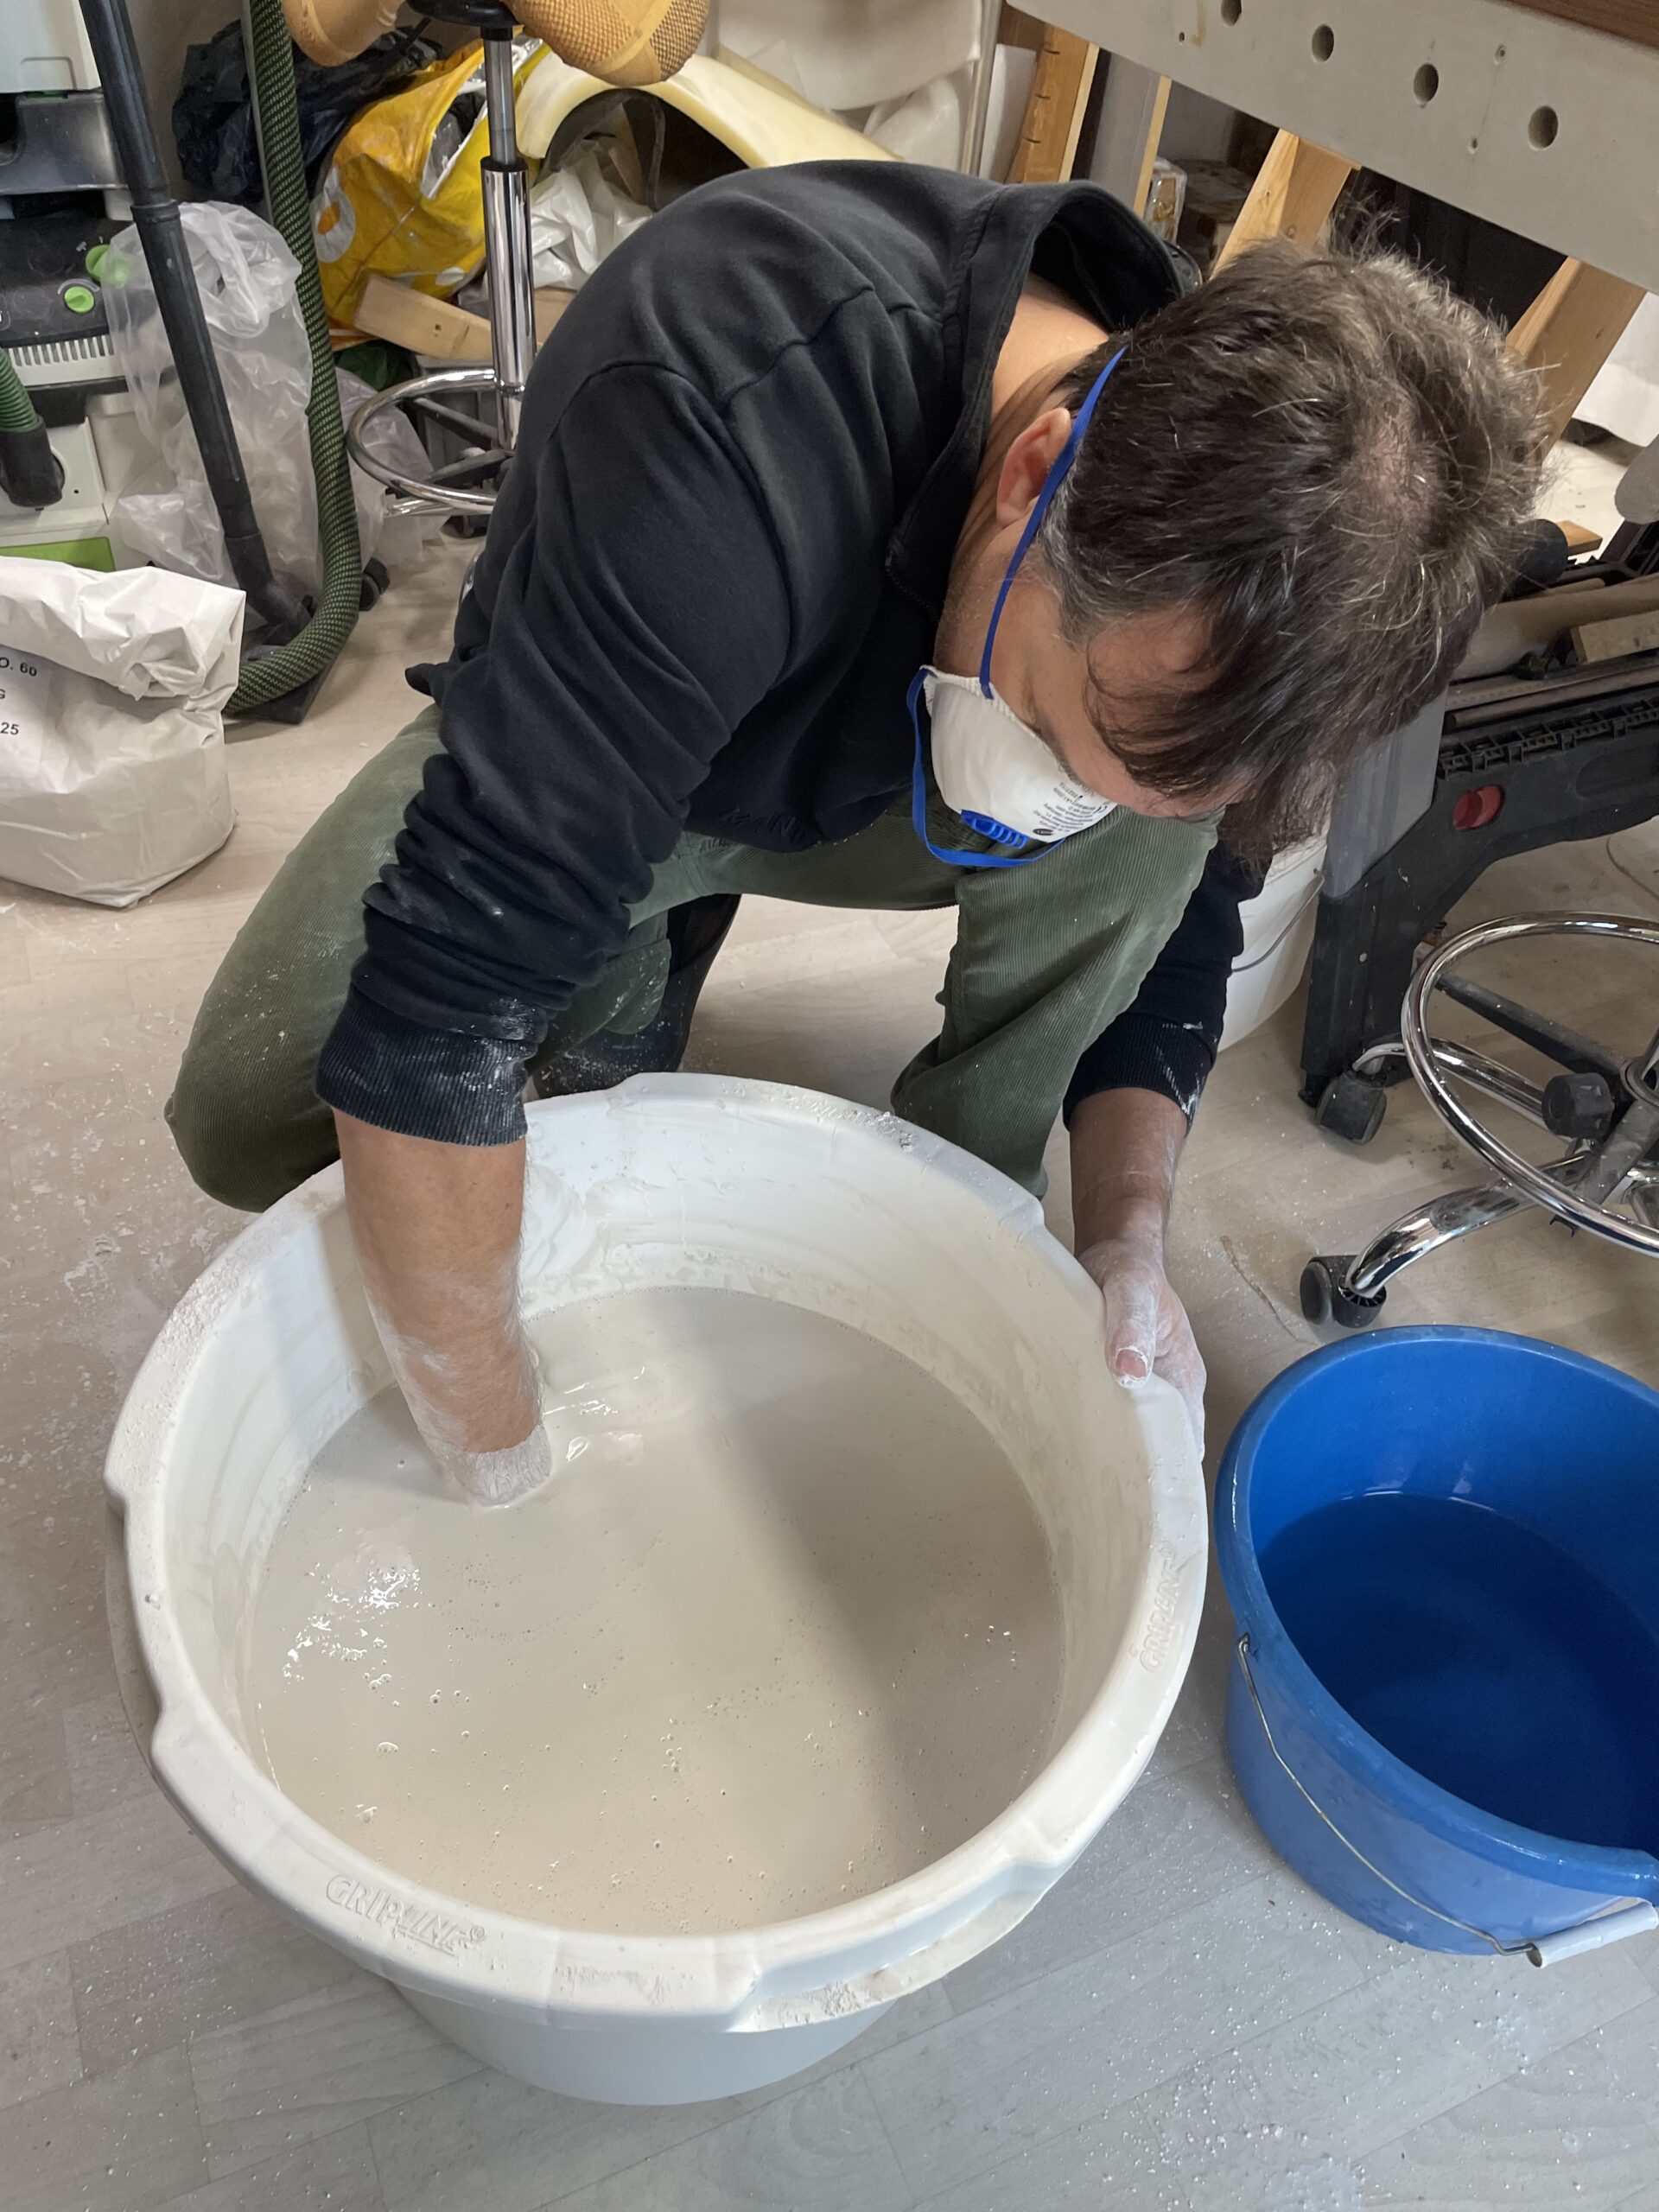
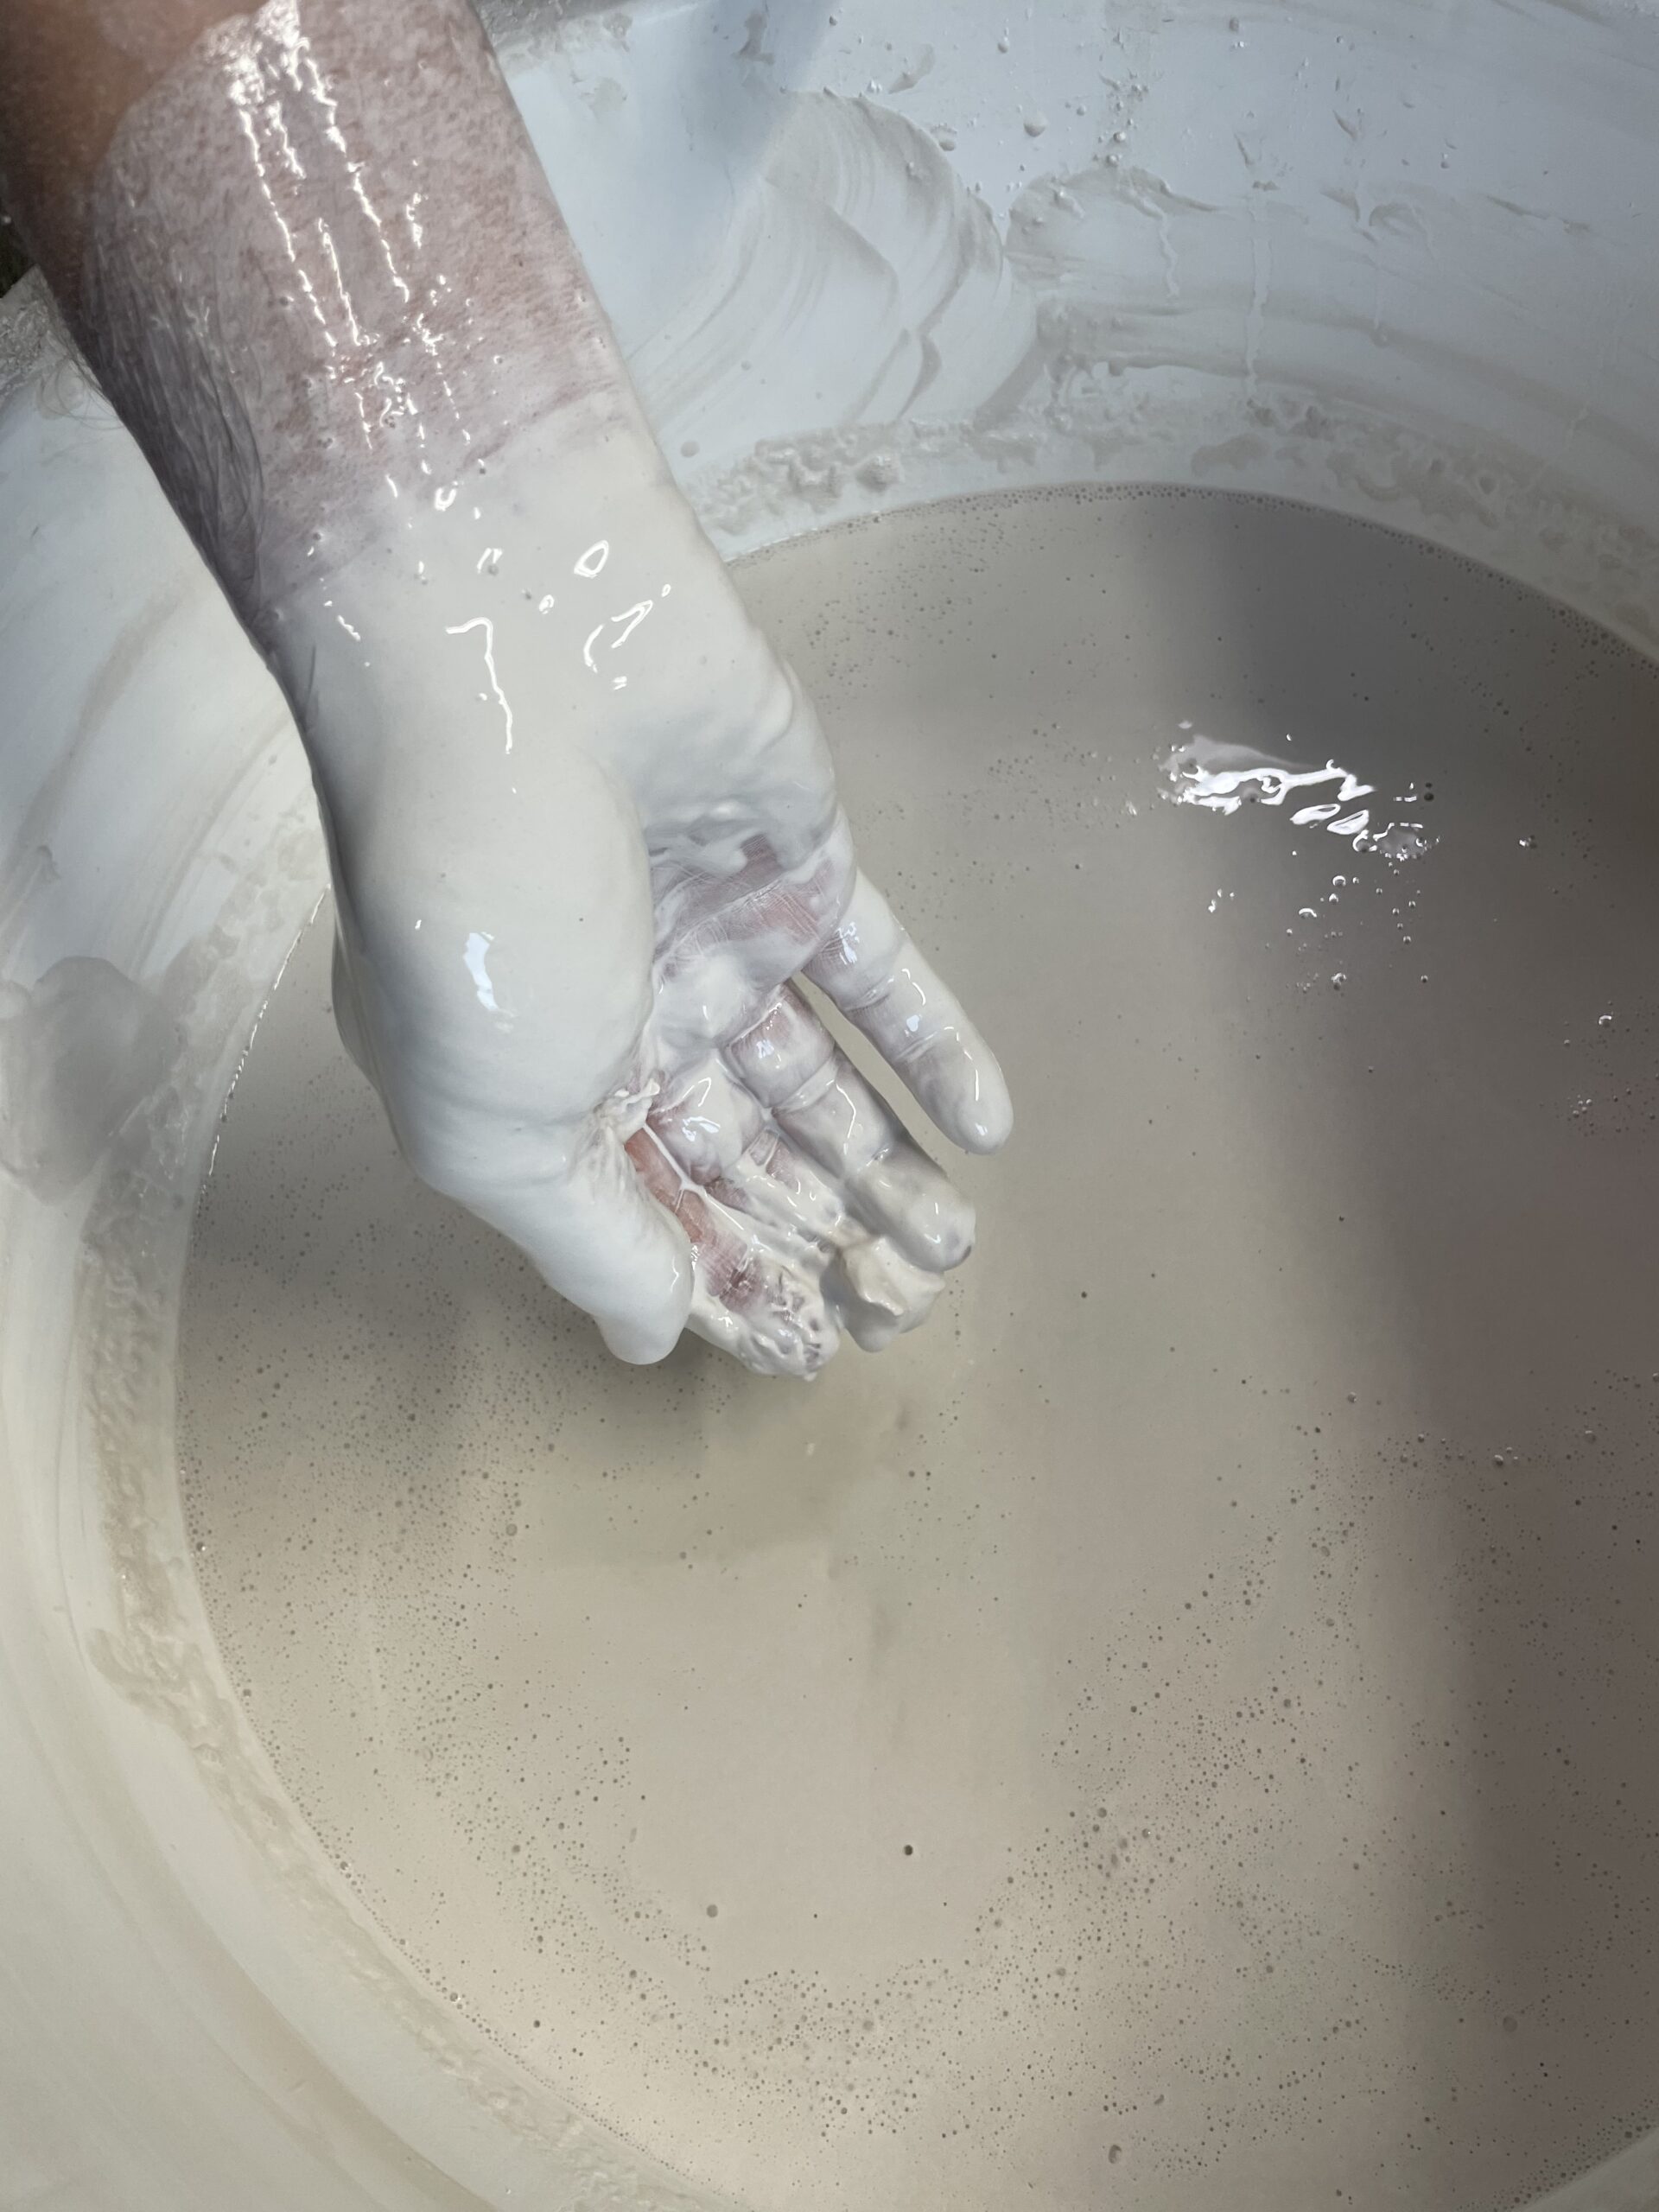
It always seems so simple: a bag of plaster, a bucket of water, and you have read the instructions. “How hard can it be?”
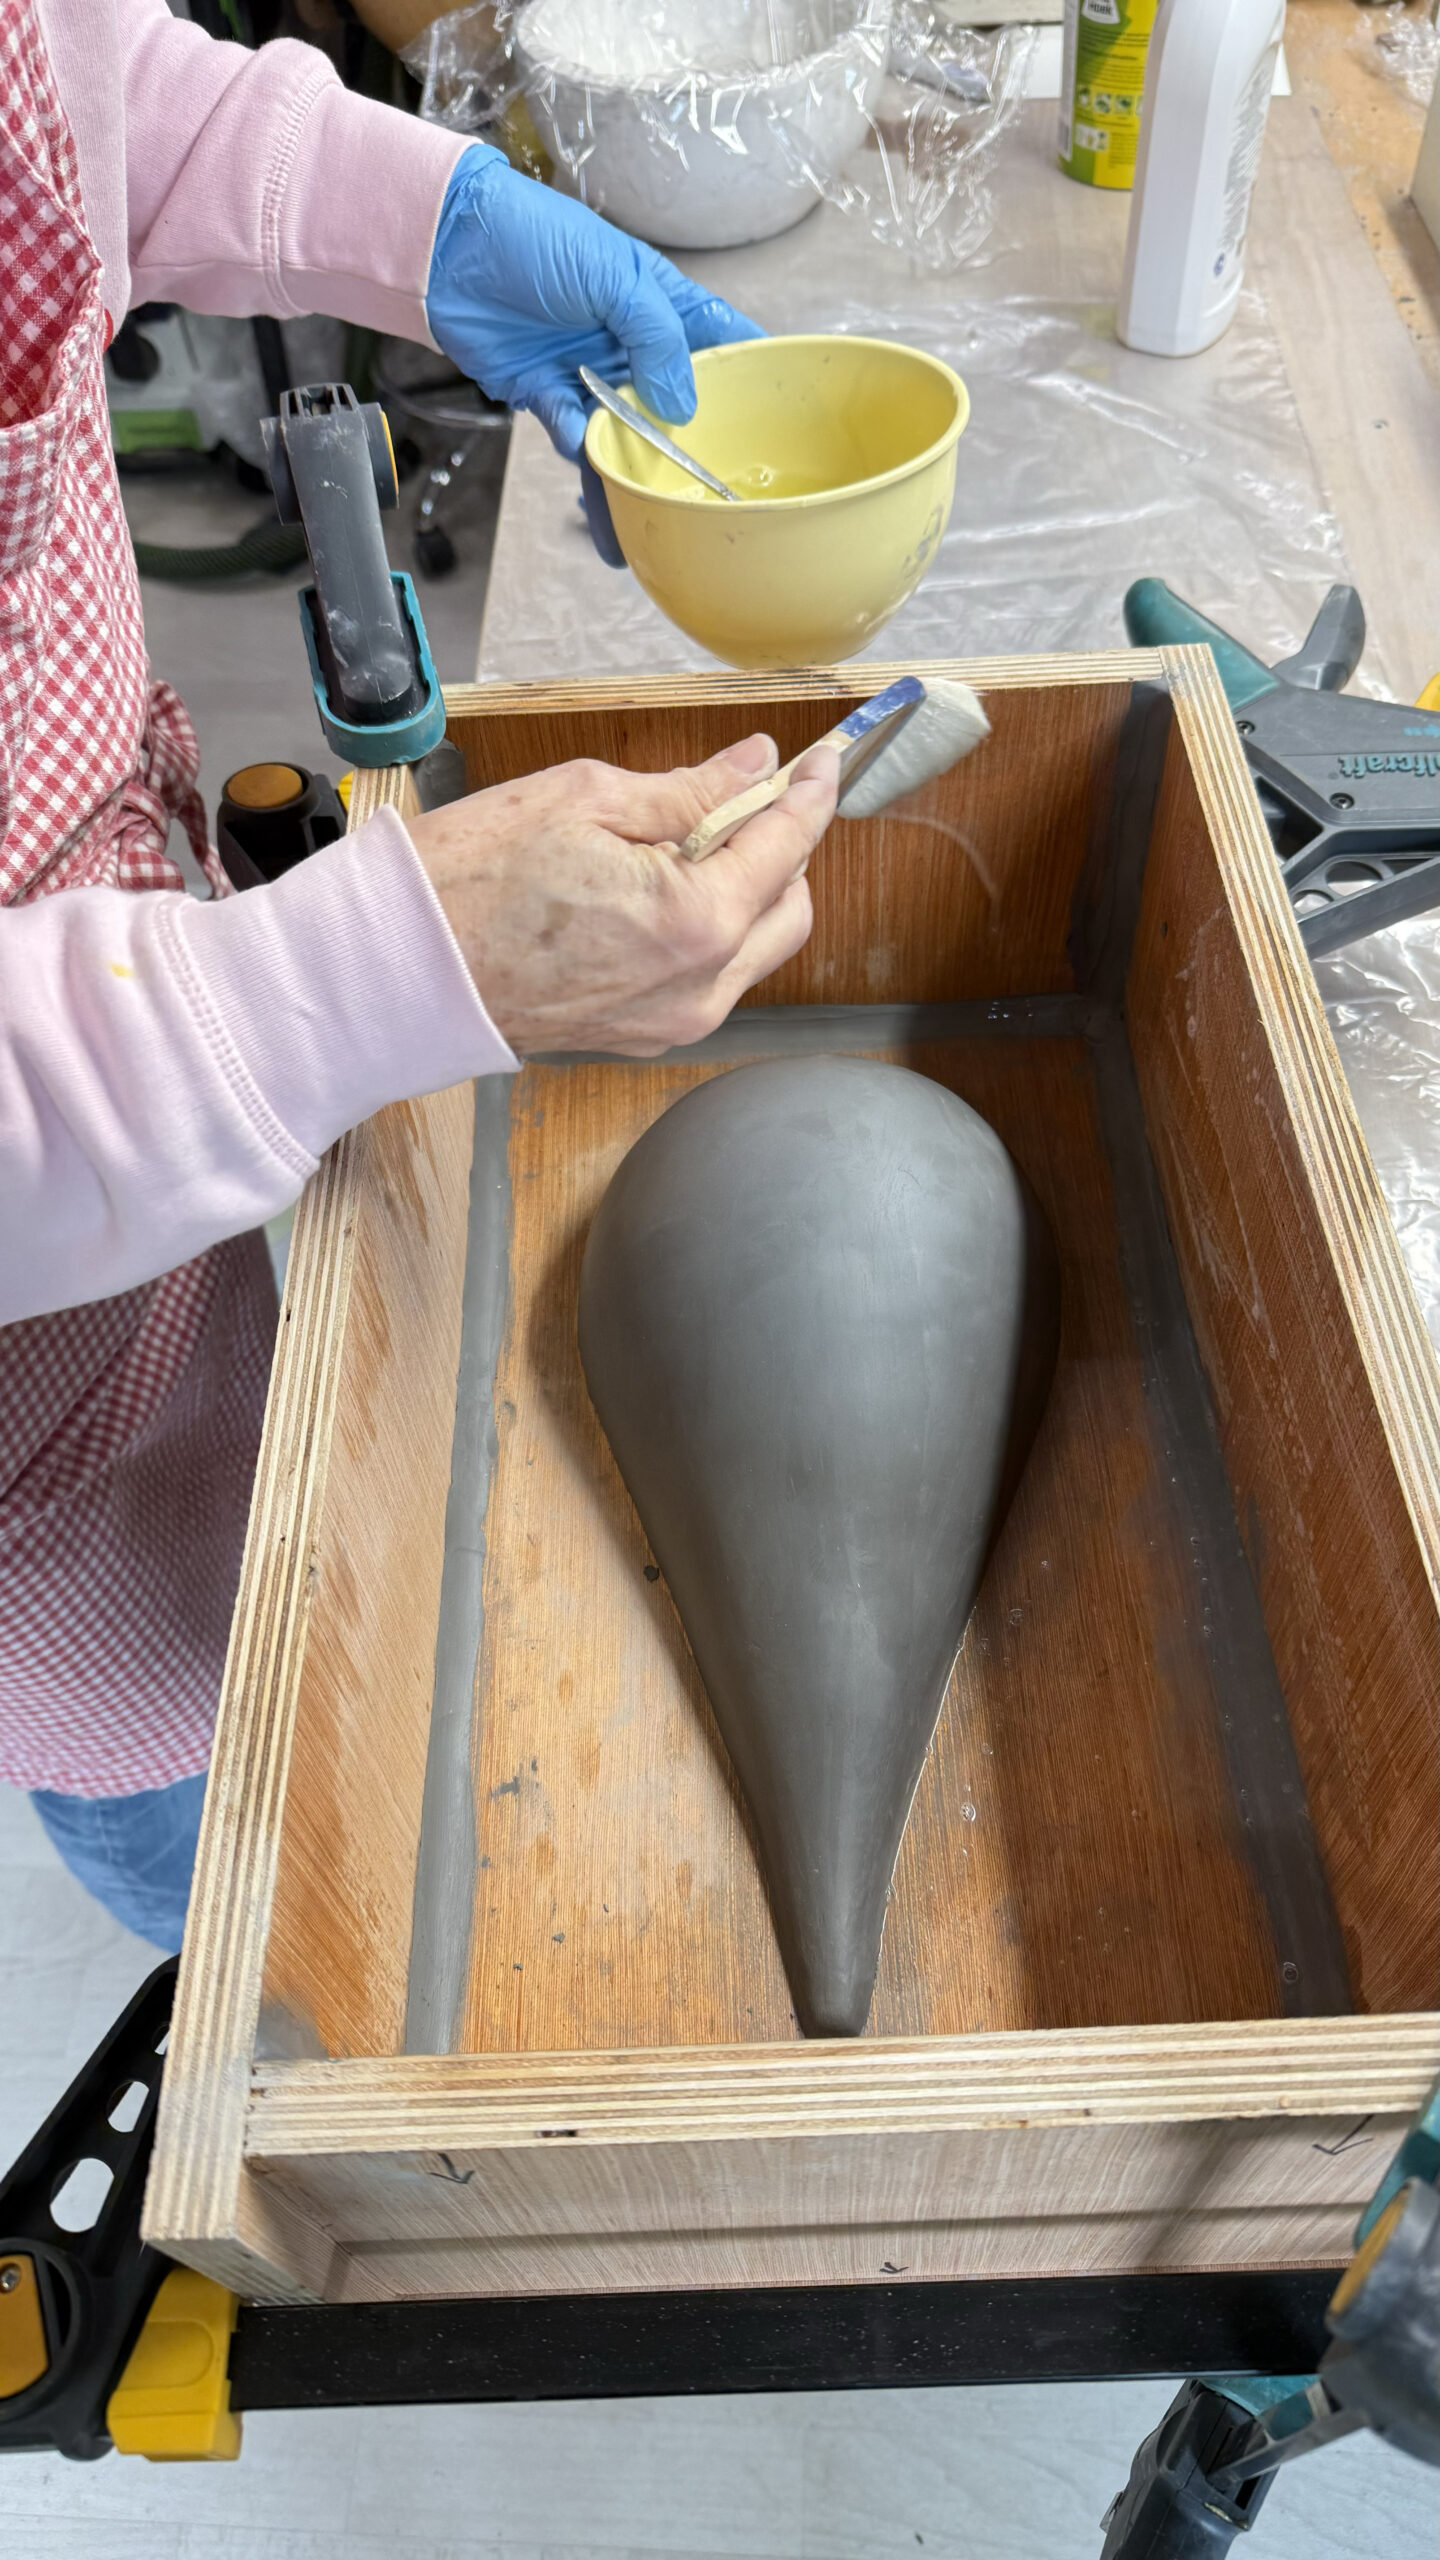
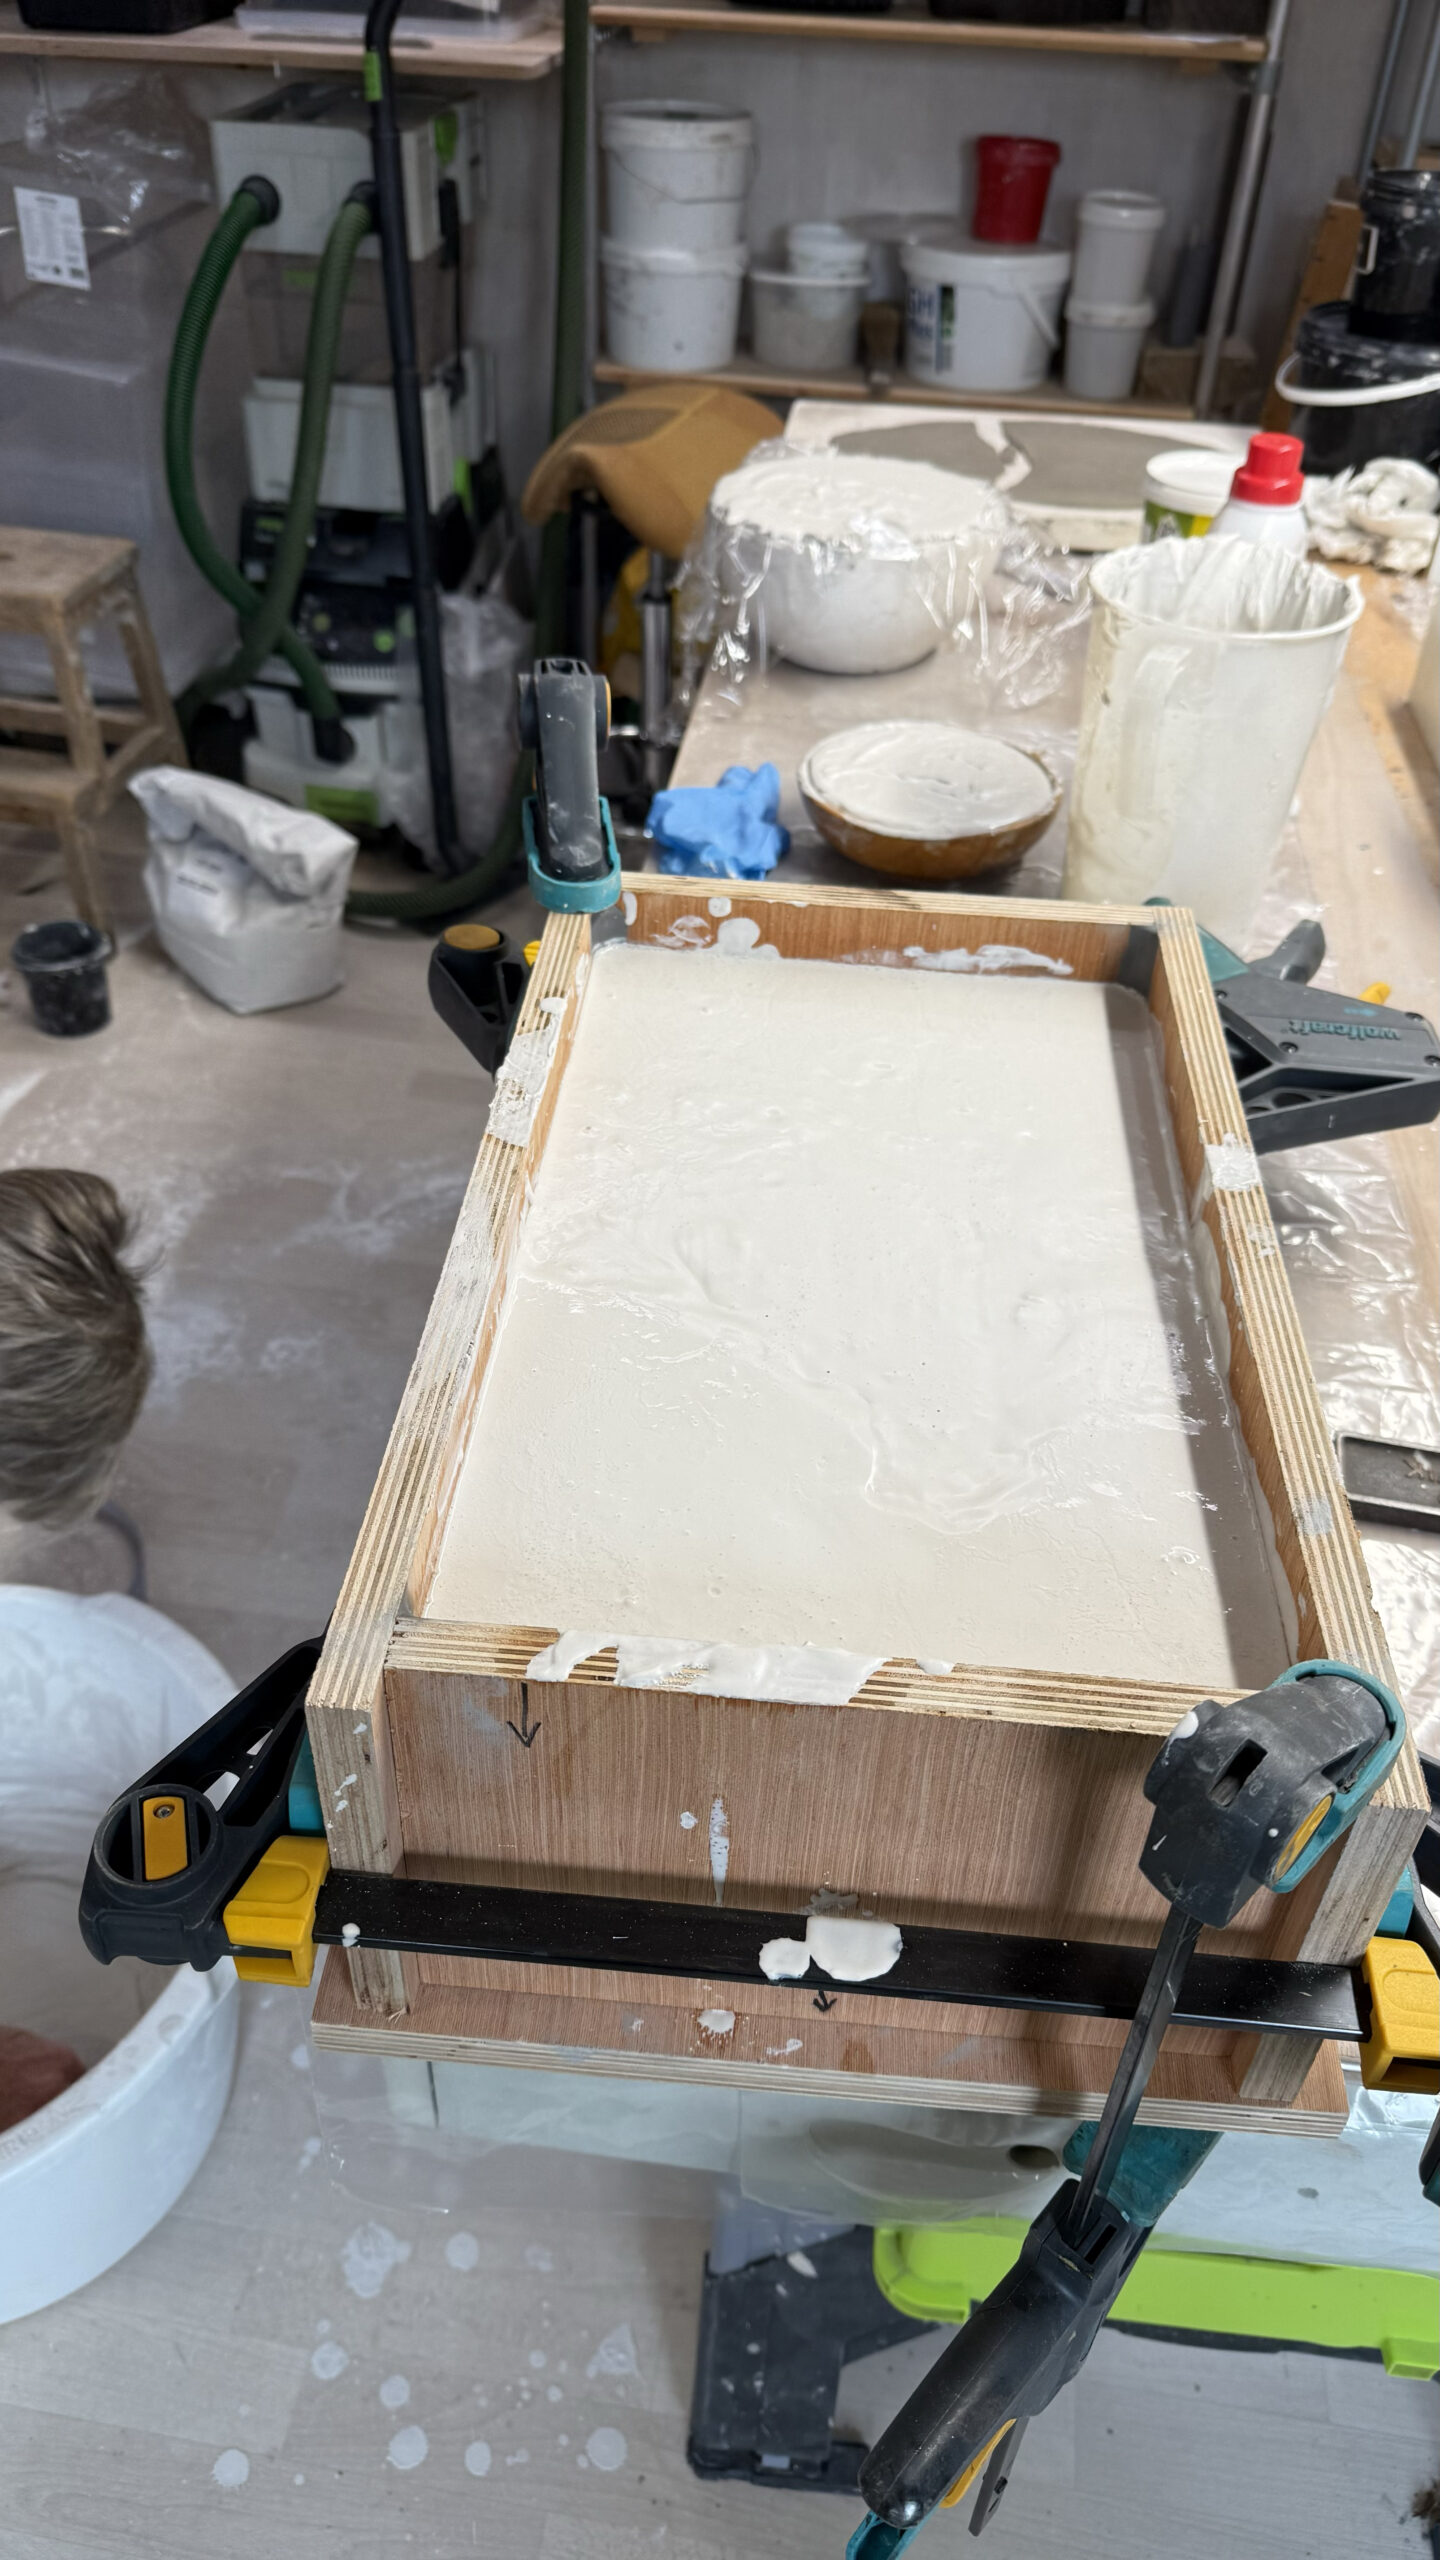
Step 2: Check the mould box. Are the boards snug against each other? Have you sealed the seams with clay and clamped everything tightly? Your mould box might look like a makeshift little house, but if the plaster stays inside, it’s good enough.
Step 3: Coat the clay form and all the wood with green soap. Better be on the safe side, so you can extract your form from the plaster. So brush generously with green soap and use a soft brush.

Step 4: Pour in the plaster. You pour and you think: Am I a true workshop master?” Until you notice the plaster hardens faster than your coffee cools. Stress mode: keep on pouring!
Step 5: Let it harden. Time to wait. And wait. And wait some more. You look at the plaster, you feel the plaster—it’s getting warm, that’s a good sign.
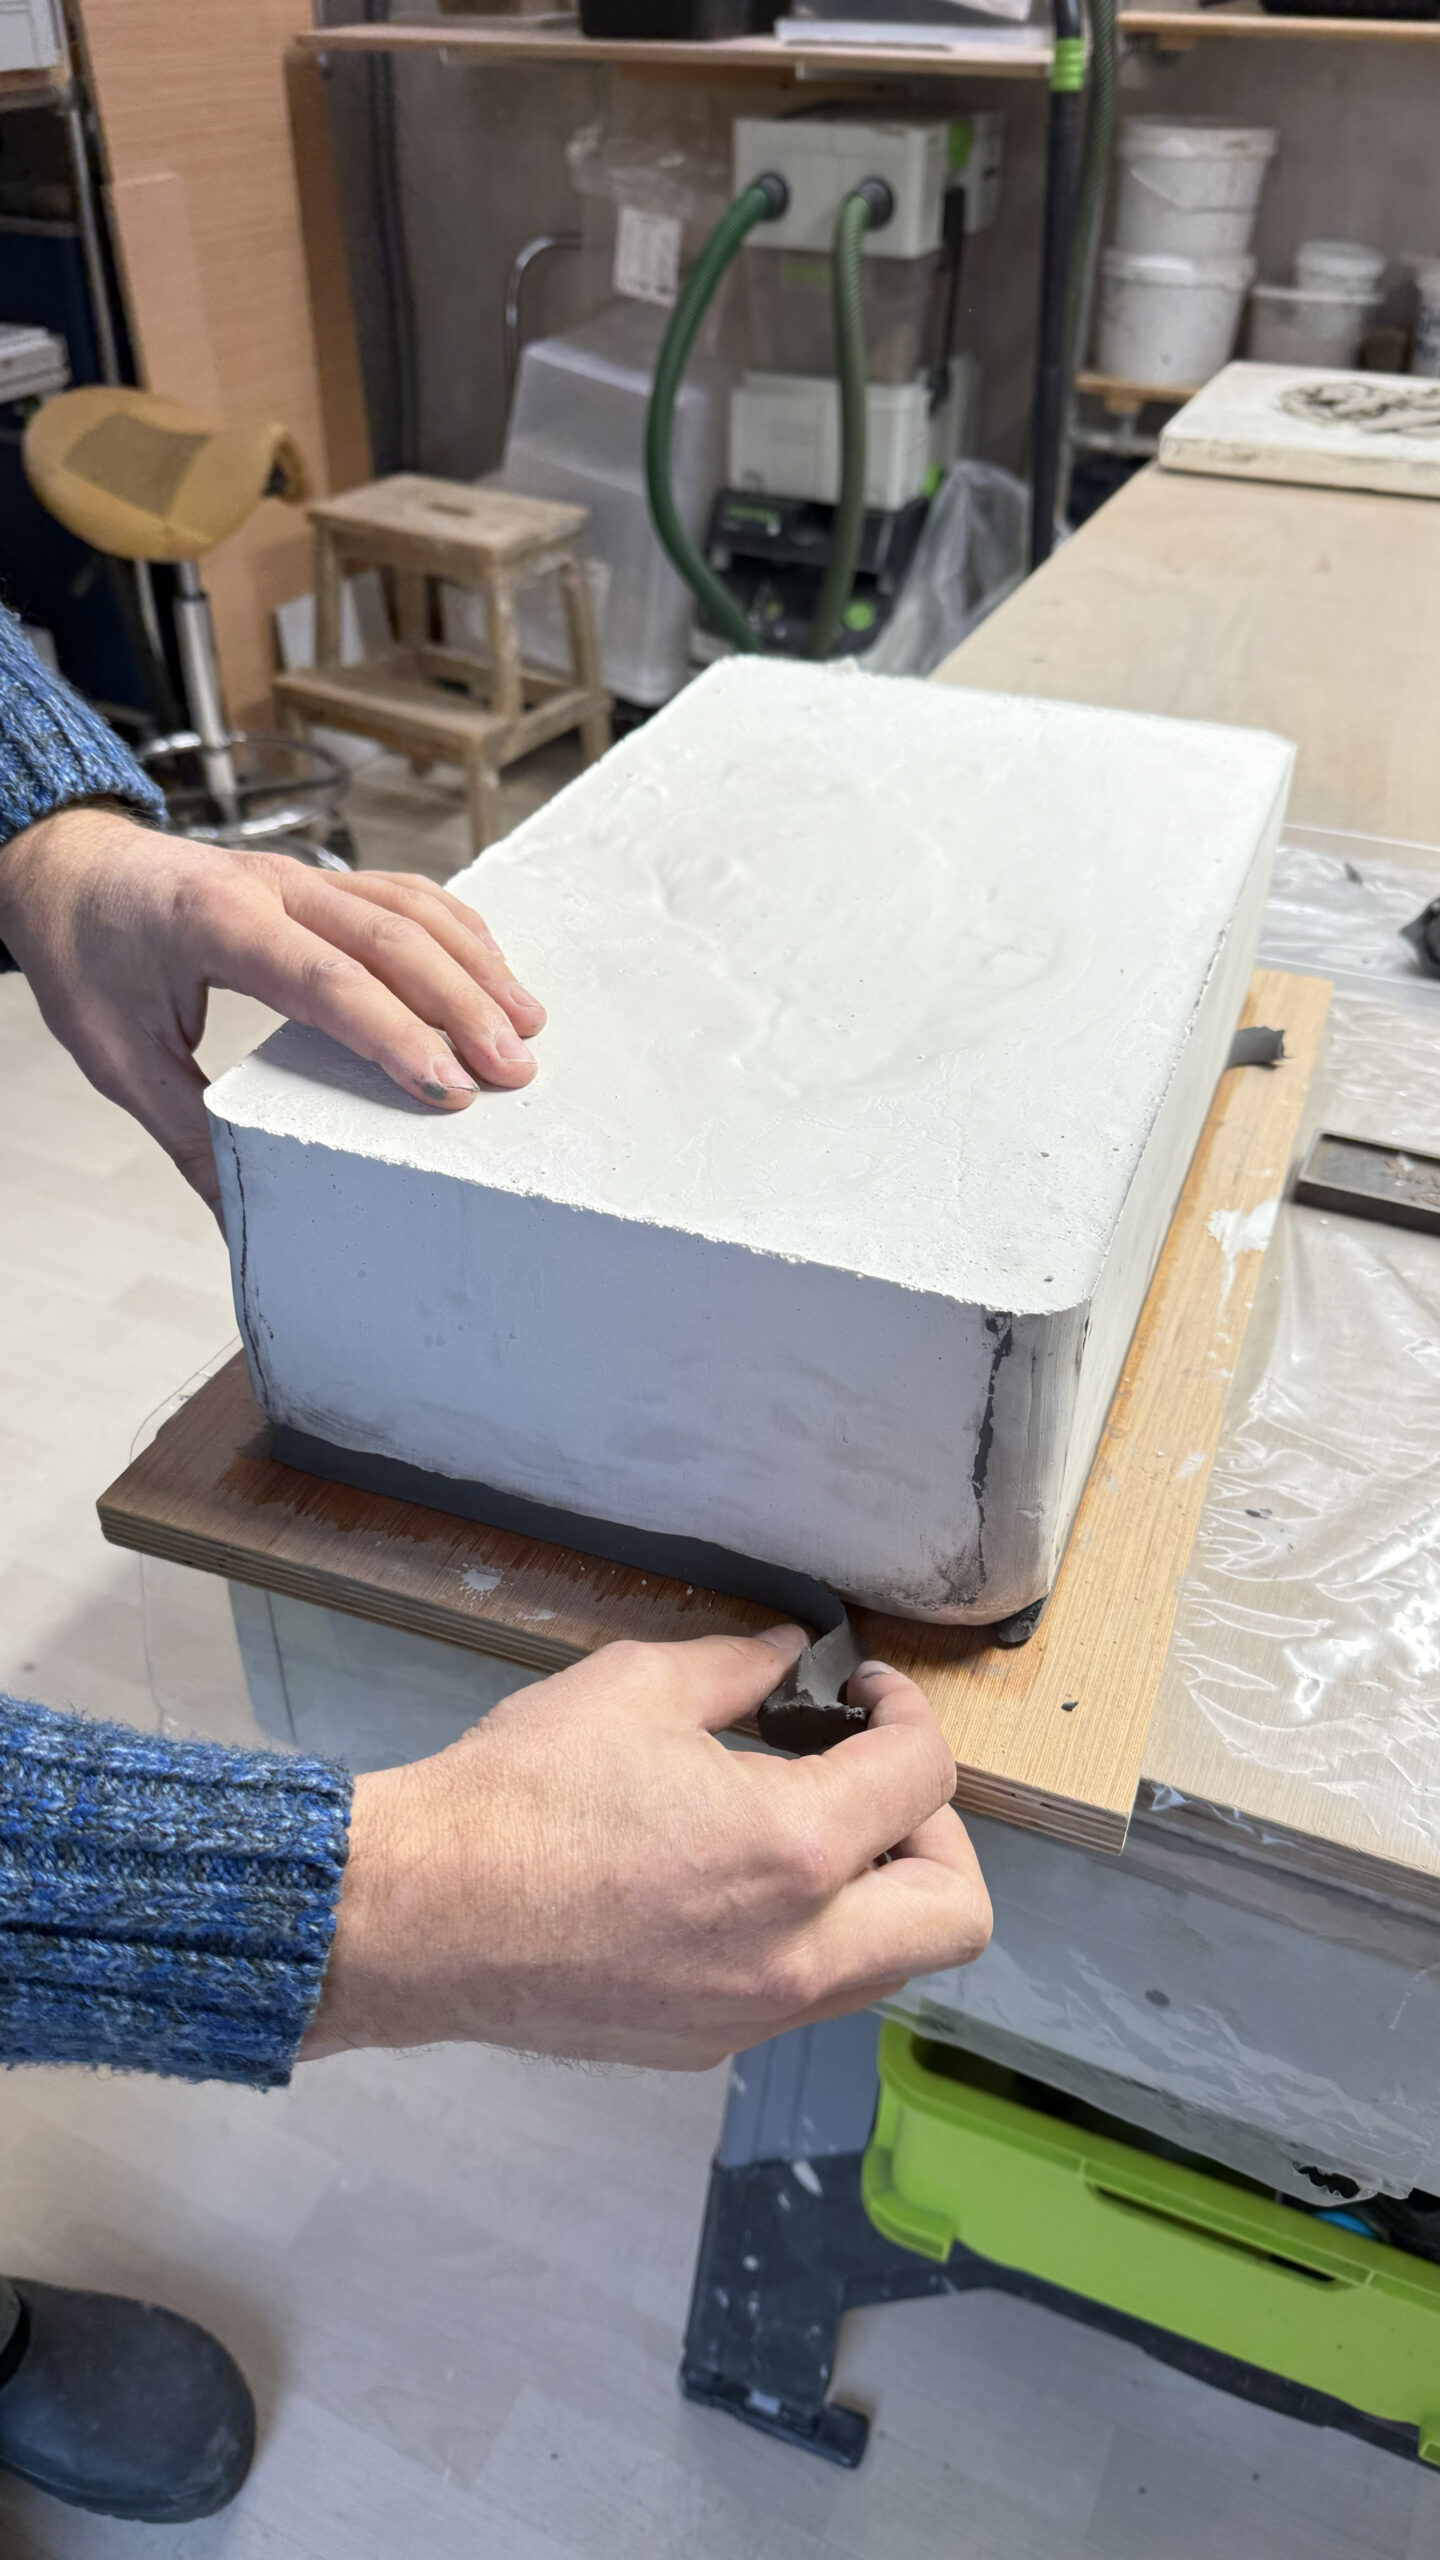
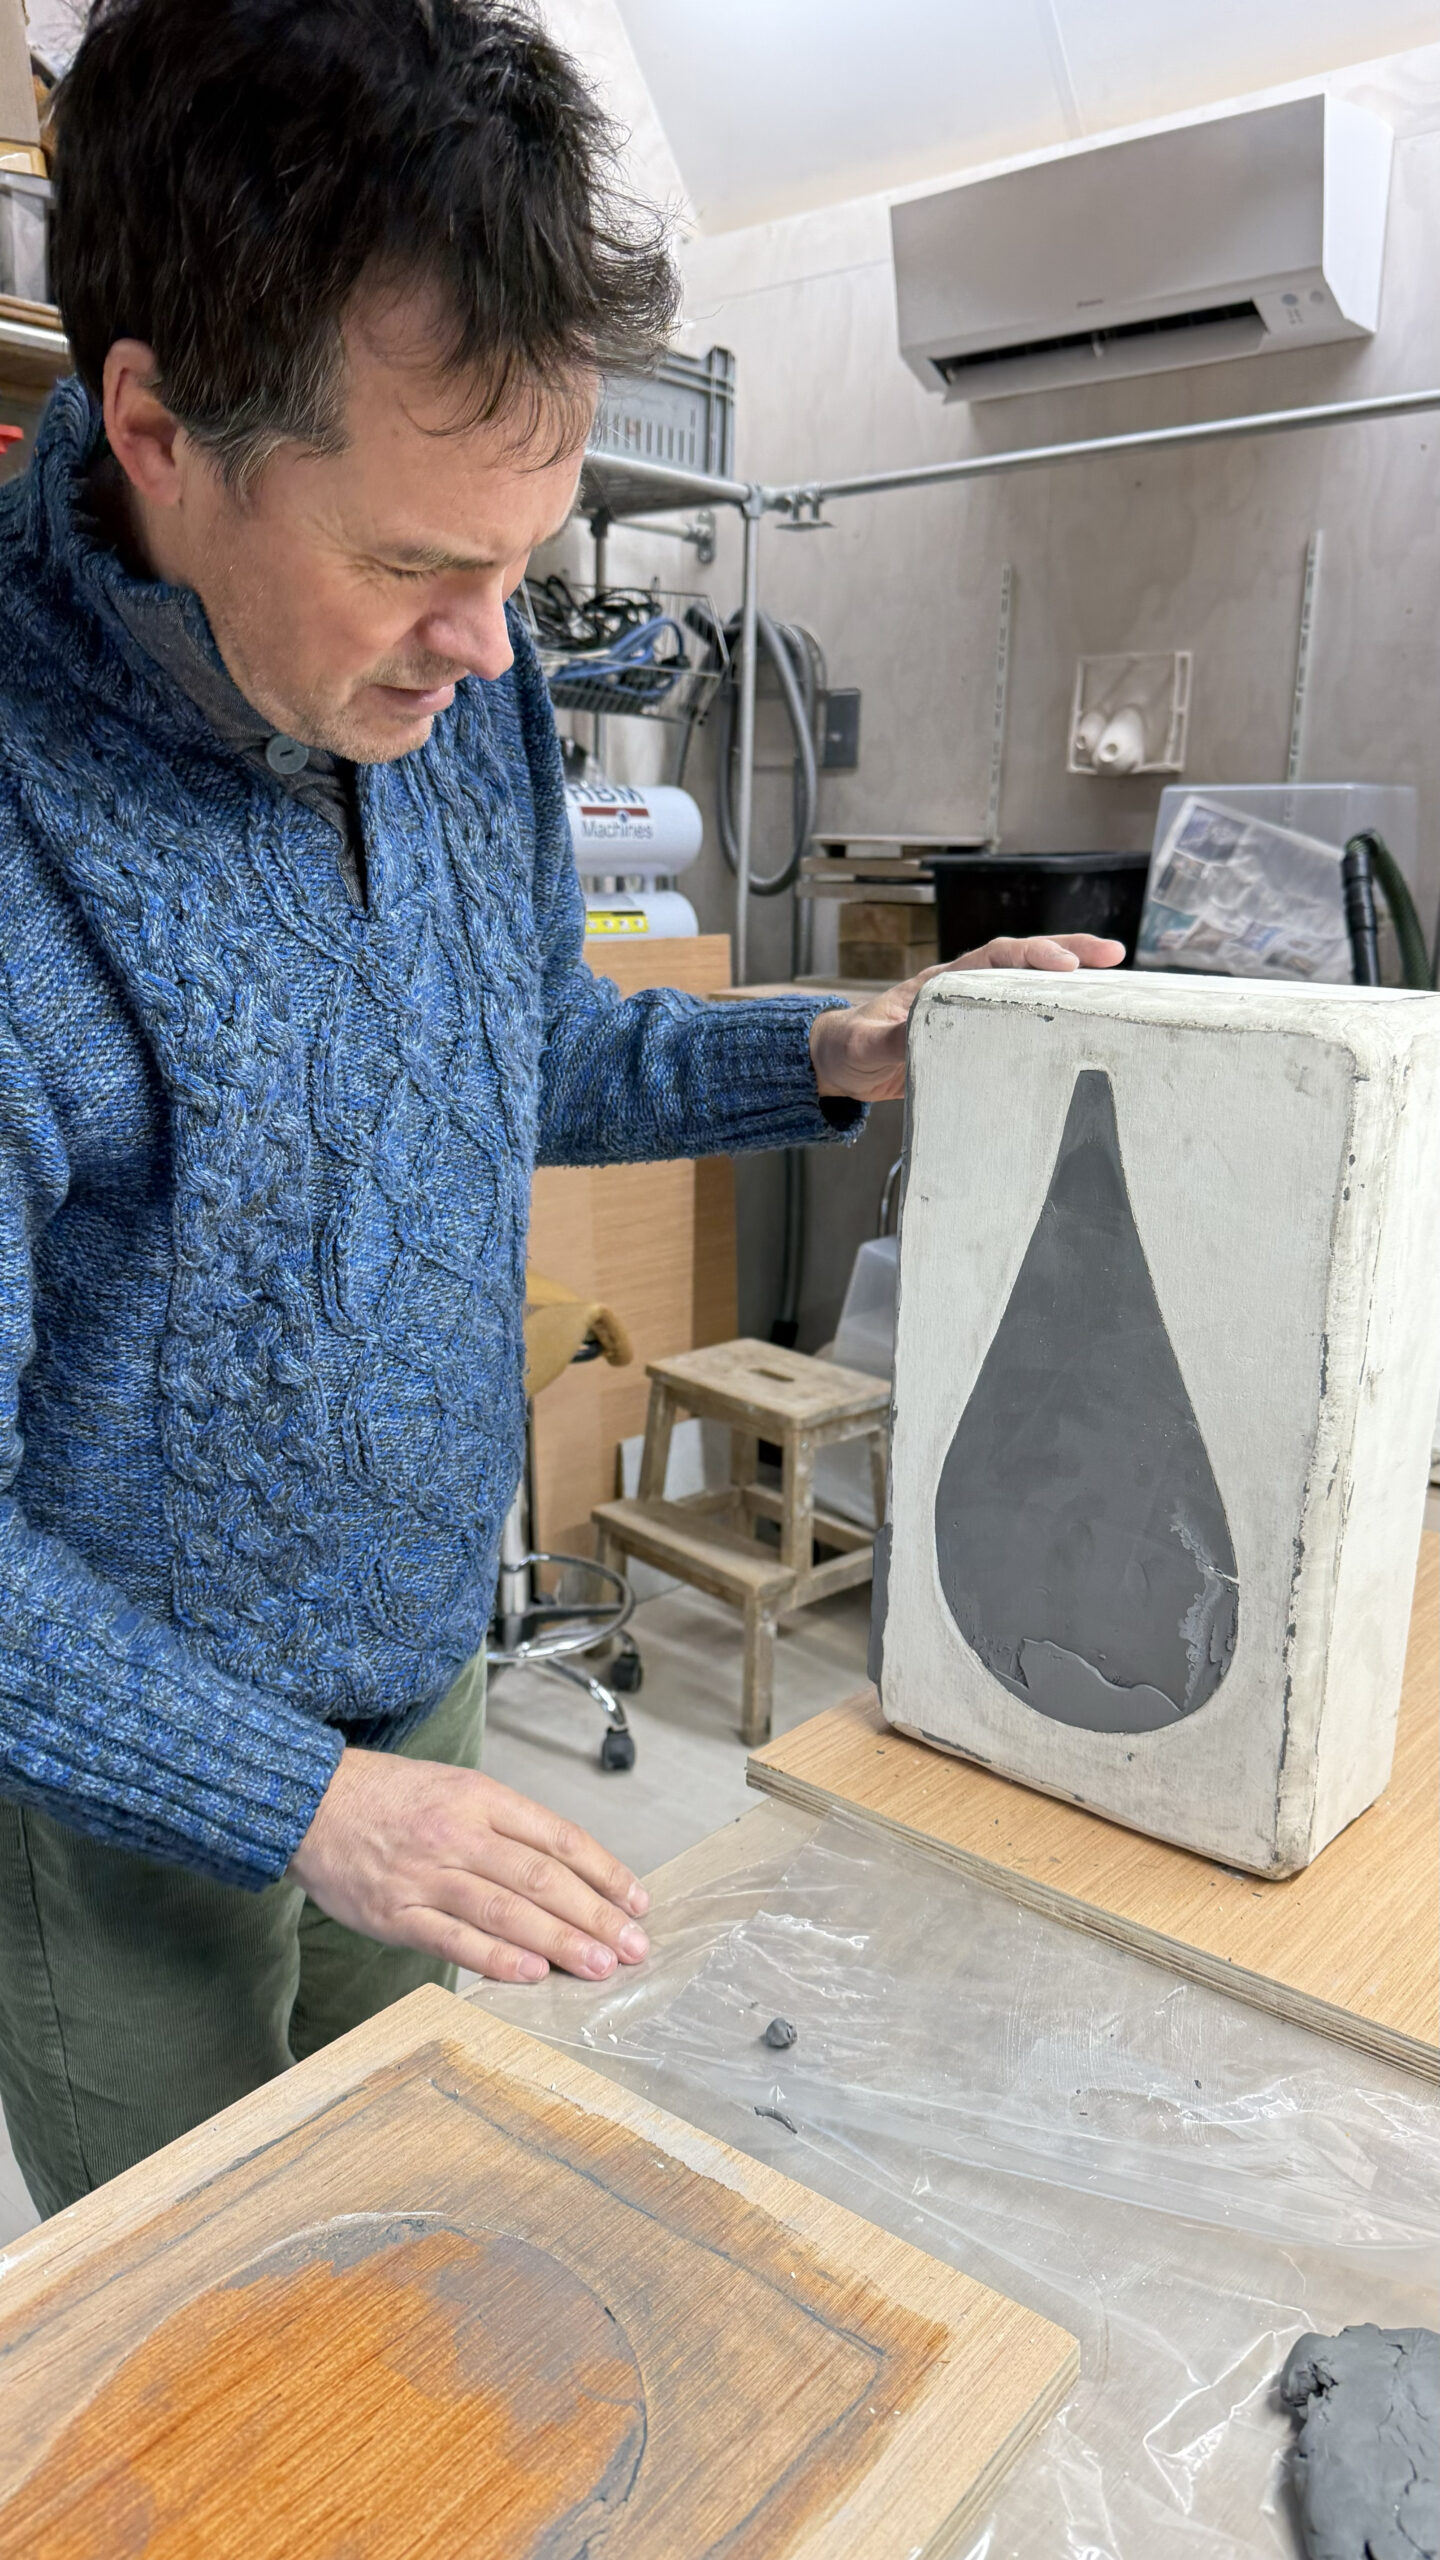
Step 6: The big reveal. When the plaster feels cold you can finally remove the clay form and… ta-da! Except for a few tiny air bubbles, it’s perfect. The press mould has been made.
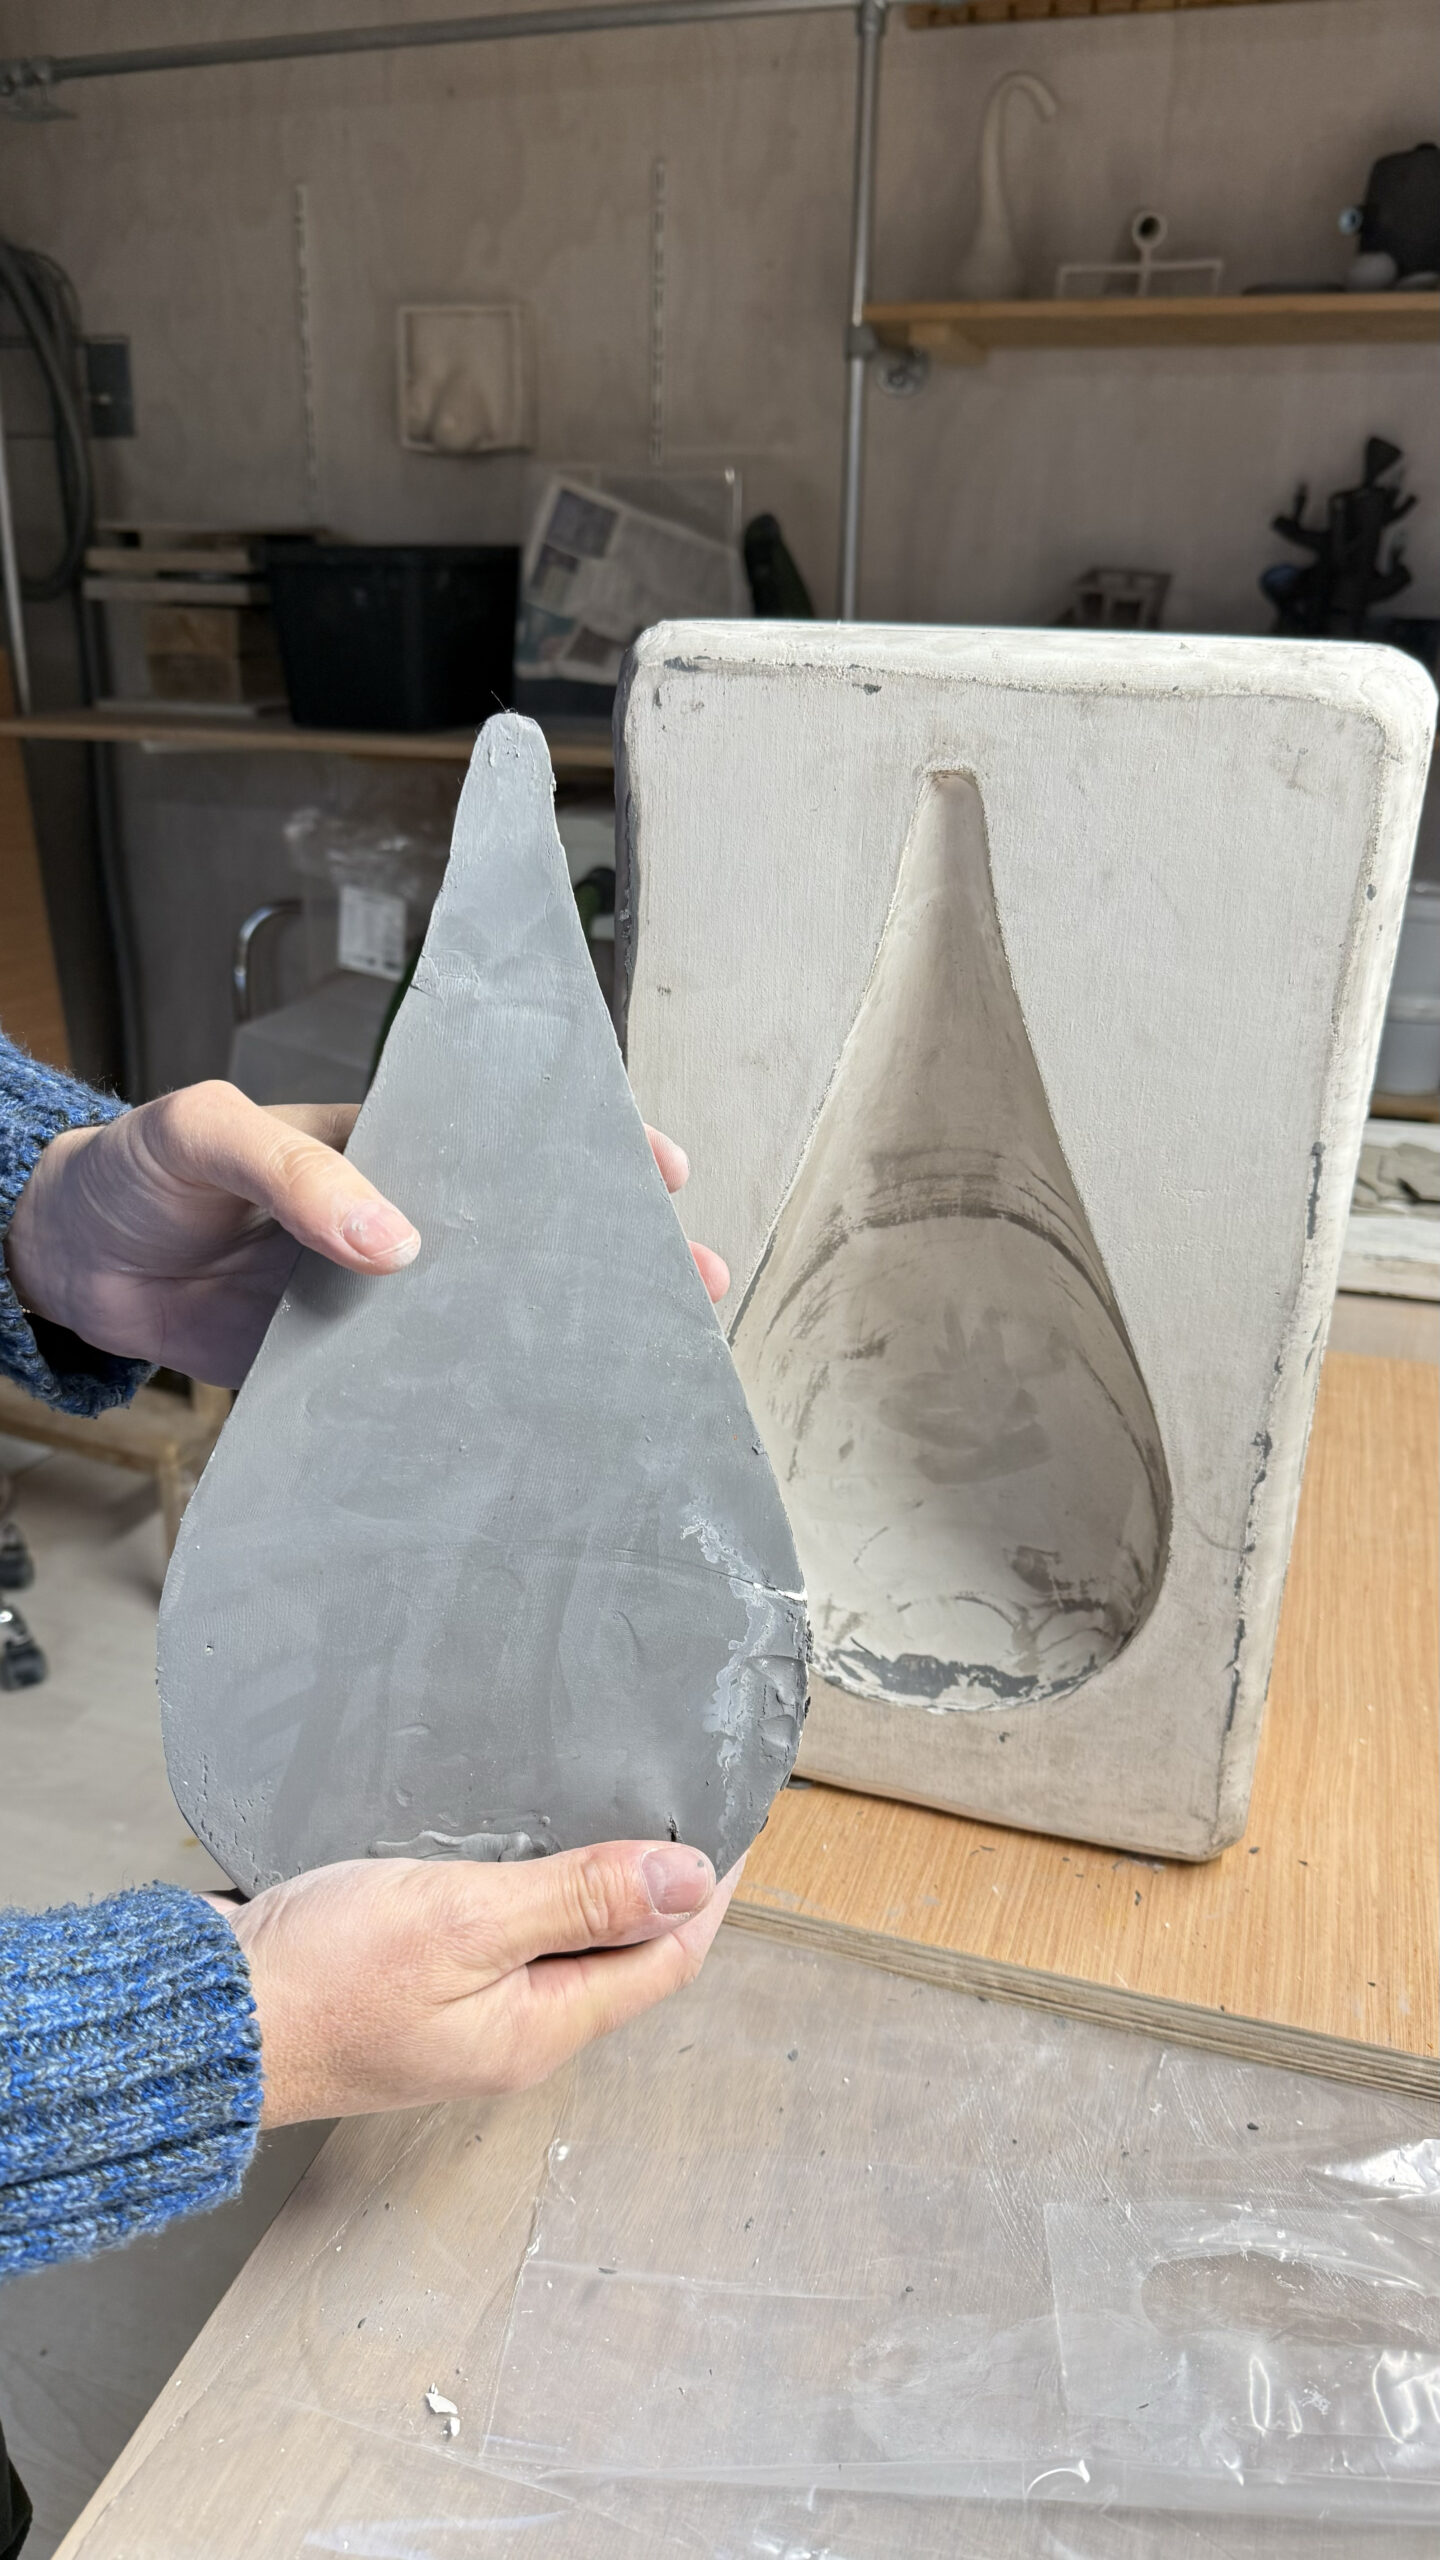
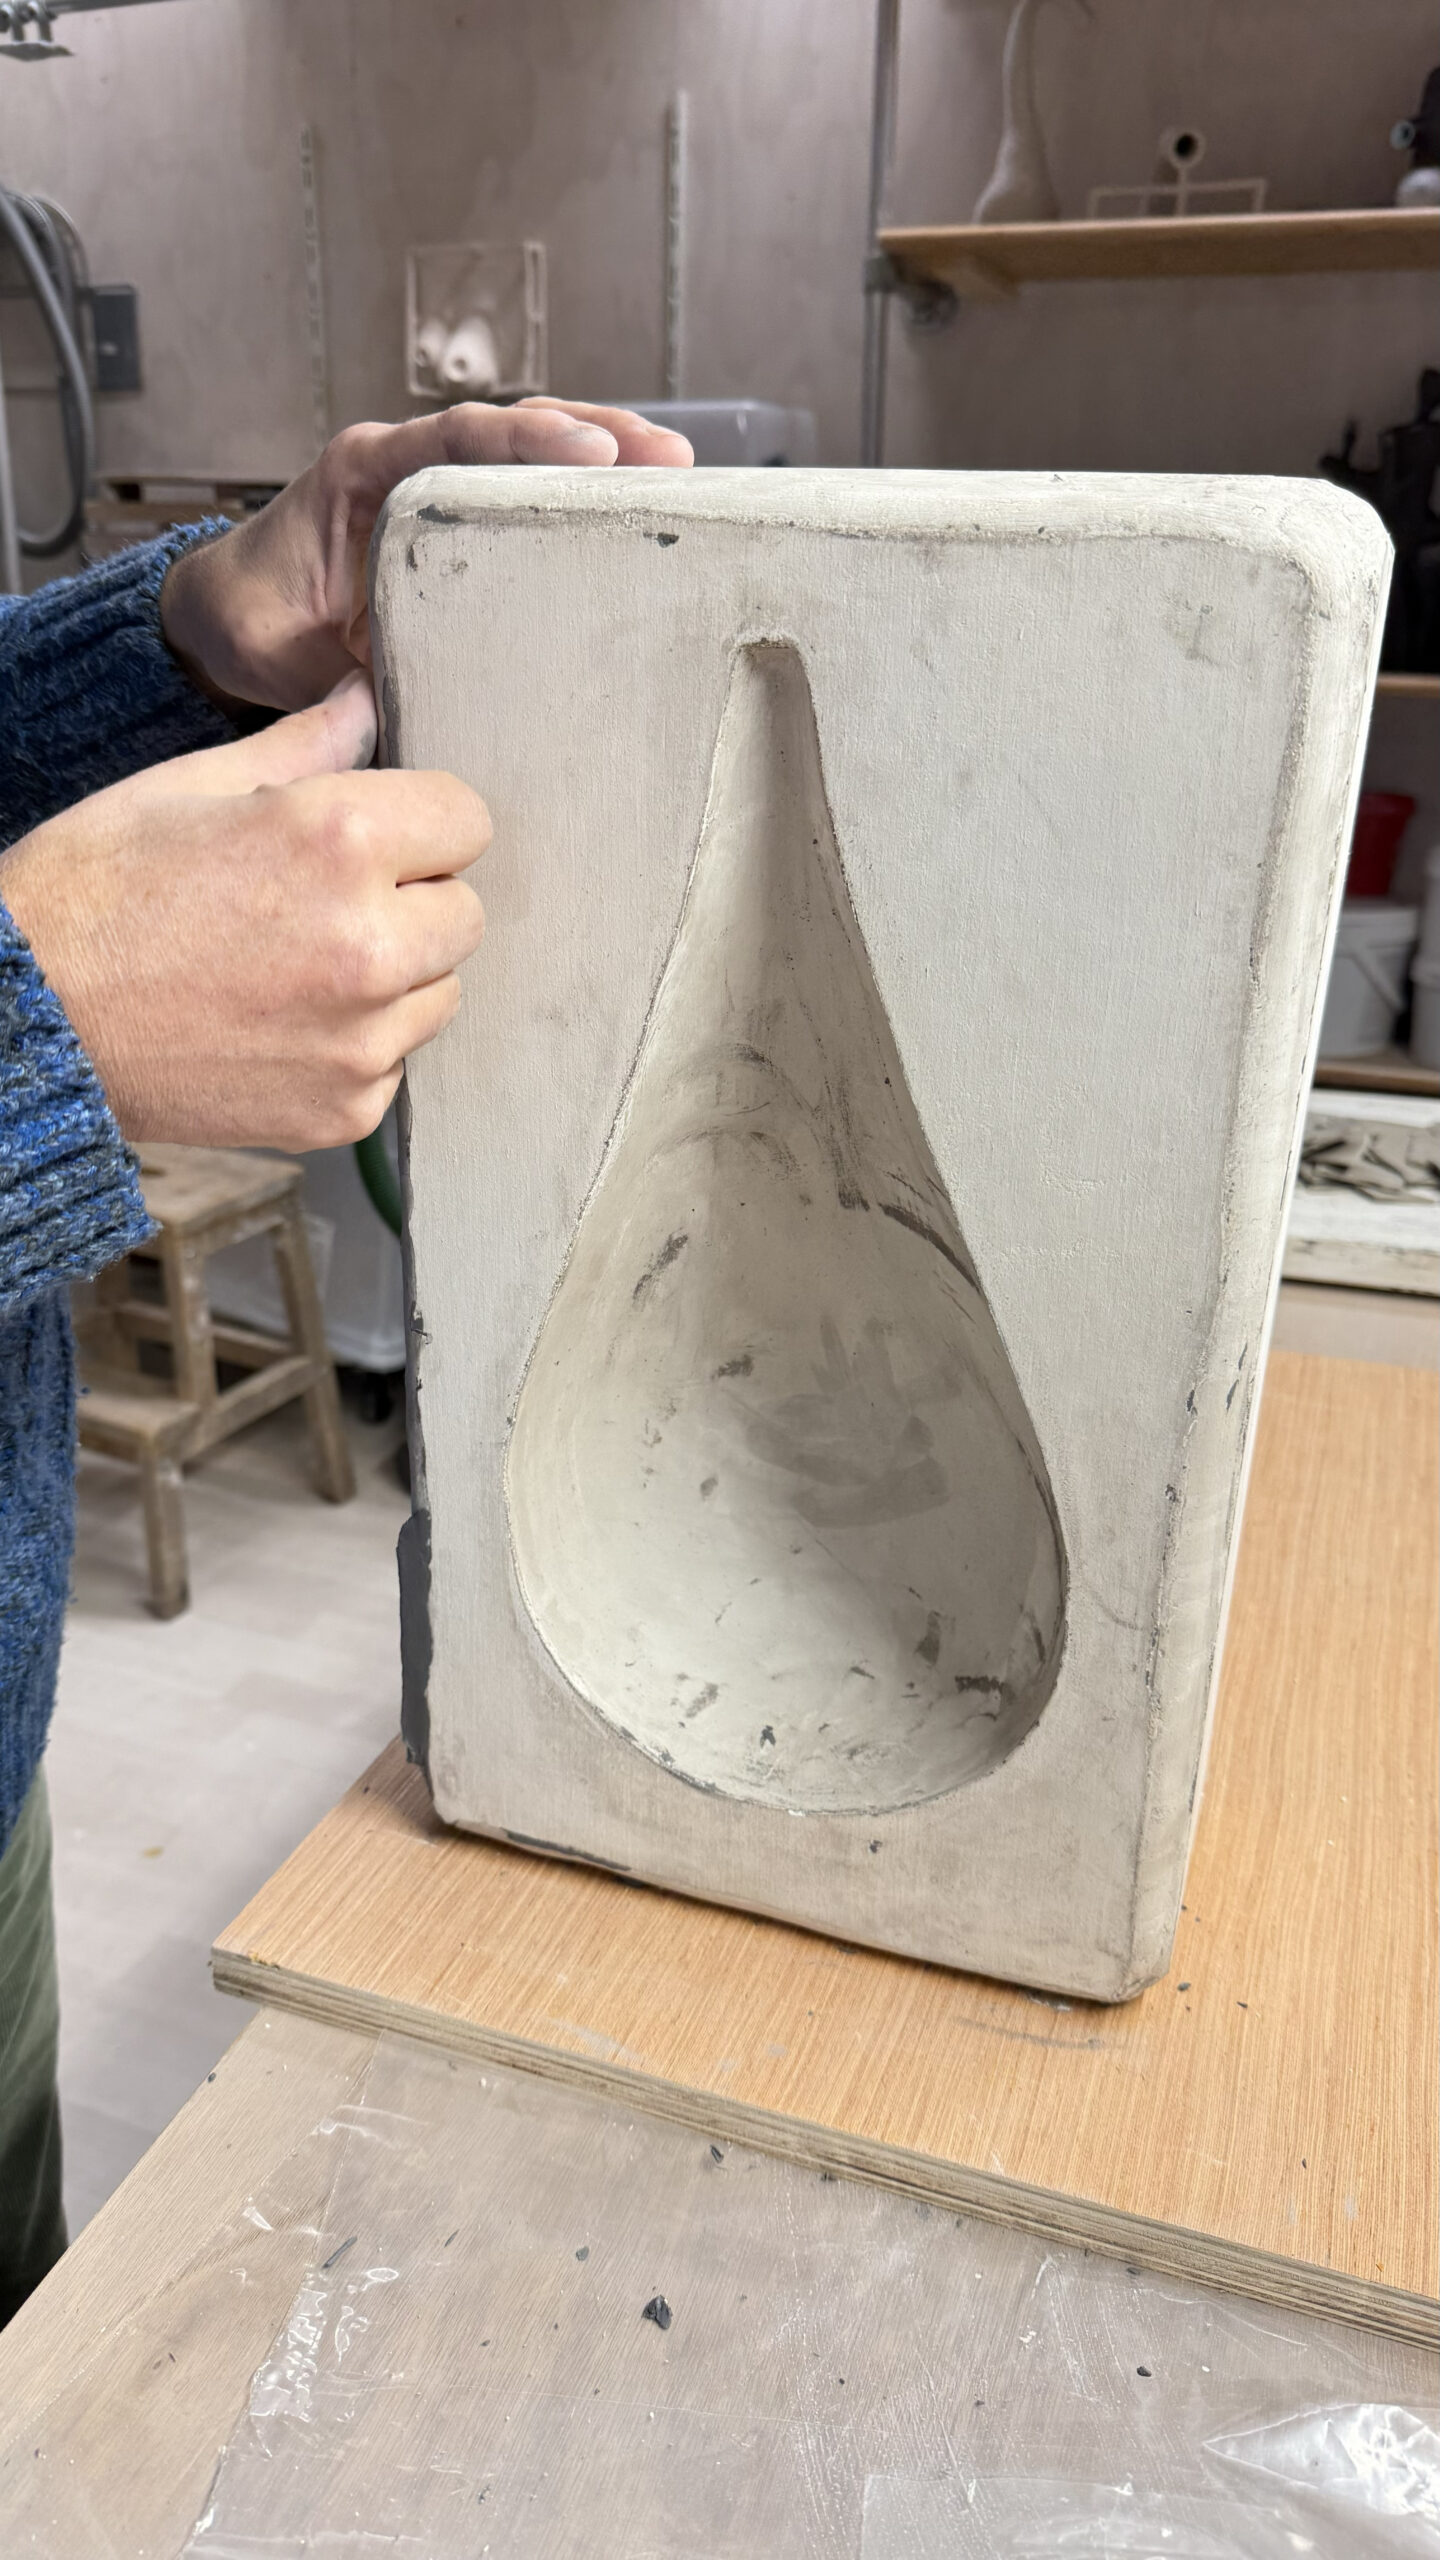
Now it needs to dry for a couple of weeks….